
A customer in Eido is a named group of Intune tenants. If you look after Intune for several organisations, you make a customer for each, link each tenant to its customer, and Eido can then show one customer at a time, compare them side by side, and keep each customer’s people to their own data.
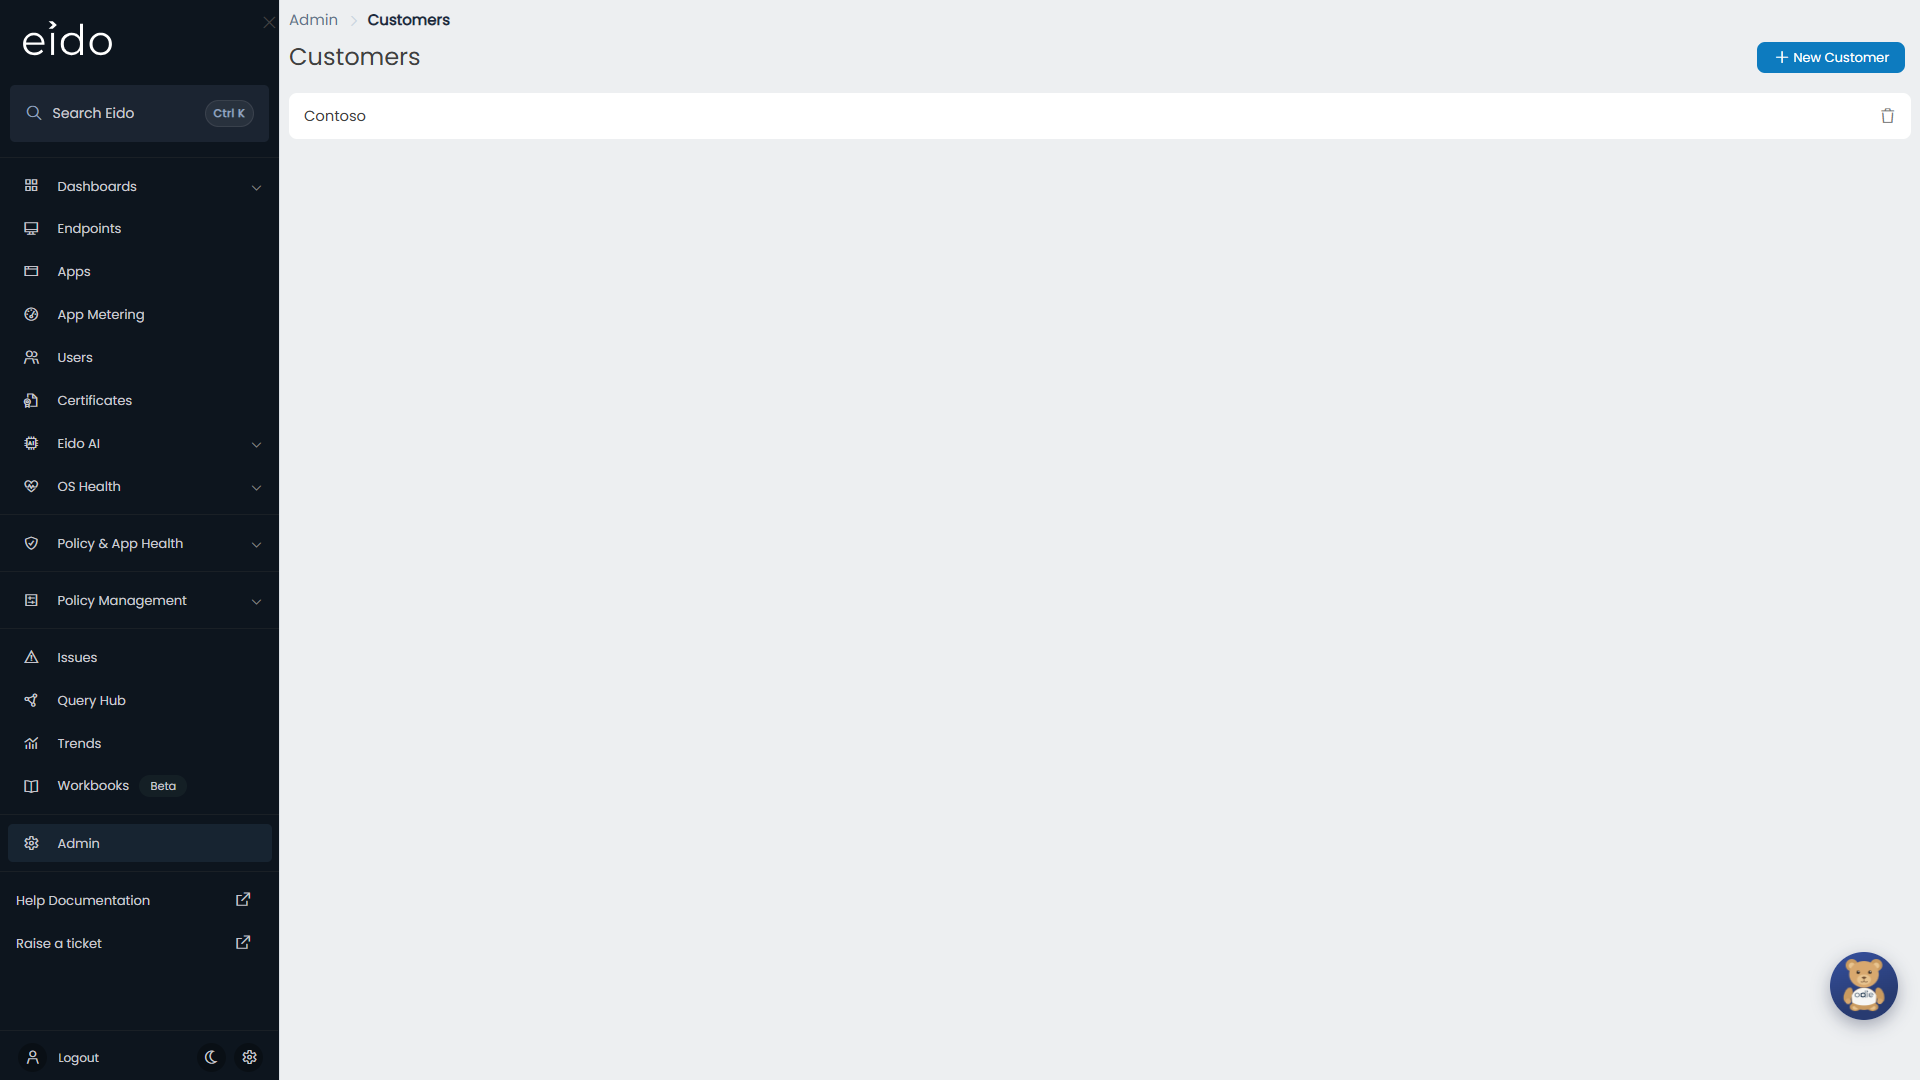
Open the page from Admin, then Customers. Only an instance-level administrator can open it, and the tile is shown only while All Customers is selected in the customer switcher. Roles explains the kinds of administrator.
This article is the setting up. For working with customers day to day, see Customers overview.
What a customer record is#
A customer has one property: its name. Everything else comes from what you attach to it.
| You attach | Where | Effect |
|---|---|---|
| Intune tenants | Admin, then Intune Tenants | Decides which devices, users, apps and policies belong to the customer. |
| People | Admin, then Team | Restricts a person to that customer’s data. |
| Roles | Admin, then Roles | Restricts everybody holding a role to chosen customers. |
| Alerts | Admin, then Alerts | Raises alerts for that customer only. |
A tenant belongs to one customer at most. A customer can have several tenants.
Add a customer#
- Go to Admin, then Customers, and press New Customer.
- Type the customer’s Name. It is required.
- Press Save.
The customer appears in the list, in the customer switcher at the top of the sidebar, and in every Customer box across Admin. The list is in alphabetical order.
A new customer is empty until you link a tenant to it.
Link a tenant to a customer#
-
Select All Customers
The setting is only shown while All Customers is selected in the customer switcher.
-
Open the tenant
Go to Admin, then Intune Tenants, and press the tenant. Intune Tenant Settings opens on its Tenant Settings section.
-
Choose the customer
Set Link to Customer to the customer.
-
Save
To move a tenant, choose a different customer in the same box. Intune tenants and Tenant settings cover the rest of that panel.
What linking gives you#
Once tenants are linked, the customer shows up across Eido.
- The customer switcher. At the top of the sidebar, under the search box, a box reads All Customers. Open it and pick a customer, and every screen is narrowed to that customer’s tenants. The dashboards and folders in the sidebar reload for that customer. Pick All Customers to return.
- The Customers screen. Customers in the sidebar opens an overview across all your customers. It is shown while All Customers is selected. See Customers overview.
- A Customer filter. Many Query Hub views carry the customer’s name, so you can filter a report by Customer. A device’s details show its customer too.
- Admin, one customer at a time. With a customer selected, Team lists only that customer’s people and a new user is placed in that customer by default. The Customers, Intune Tenants, Integrations, Computed Columns, Eido AI and Odie Assistant tiles are hidden until you return to All Customers, because they belong to your whole instance.
Restricting people to a customer#
There are two ways. They do different jobs.
| On the person | On the role | |
|---|---|---|
| Where | Customer on their user, in Team | Customer Access on the role, in Roles |
| How many customers | Exactly one | One or more, with Scope set to Selected |
| Meant for | Somebody who belongs to that customer, such as the customer’s own IT contact | Somebody on your own team who looks after a group of customers |
On the person#
Set Customer on a user and they see that customer and nothing else: only its tenants, its devices, its users and its issues.
They also work in that customer’s own space. Dashboards and saved reports are shared within a customer: the person sees what others in the same customer have shared, and not what your own team has shared with each other.
Give such a person the Admin role and they become a customer-level administrator, able to manage their own customer’s people, alerts and wallboards.
On the role#
Open a custom role, and under Customer Access set Scope to Selected. Pick the customers. Everybody who holds the role sees only those customers’ data.
Give the role to people whose Customer box is on All Customers, so that the restriction comes from the role. For somebody restricted on their user, the customer on the user is what counts. Use a role for an engineer on your team who covers, say, five of your thirty customers.
Rename or delete a customer#
Press a customer to open Edit Customer, change the Name and press Save. The new name shows everywhere straight away.
To delete a customer, press the bin icon on its row and confirm. Deleting removes the customer record only. It does not delete the customer’s tenants or its people, and Eido does not move them for you. Before you delete a customer:
- Link each of its tenants to another customer.
- Move its people to another customer in Team, or remove them.
- Check any role whose Customer Access names it.
Questions#
I cannot see the Customers tile#
One of three things. Your Eido is not in MSP mode. Or a customer is selected in the customer switcher: choose All Customers. Or you are a customer-level administrator, and customers are managed by instance-level administrators only.
A customer shows no devices#
No tenant is linked to it. Open the tenant under Admin, then Intune Tenants, and set Link to Customer.
Somebody restricted to a customer cannot see one of its tenants#
That tenant is not linked to the customer, or is linked to a different one. Check Link to Customer on the tenant.
Link to Customer is missing from a tenant’s settings#
A customer is selected in the customer switcher. Choose All Customers and open the tenant again.
Can a tenant belong to two customers?#
No. Link to Customer holds one customer. Choosing another moves the tenant.